Here at the Little House on 17th Street – we LOVE sauerkraut.
I could go on and on about all the benefits of eating lacto-fermented foods, the loads of probiotics, the digestive enzymes, the need for these beneficial bacteria in our diet today as everything is super-pastuerized for ‘safety’… but I won’t get into all of that here. Suffice to say, if you’re going to give this a shot – you too are convinced that you need to eat more fermented foods.
We have a somewhat interesting track record with sauerkraut here at the Little House. We have attempted it several times before, a couple times it’s even turned out ok… but now that we’re making Kefir – with its seemingly endless supply of whey, we can now make a sauerkraut has a boost of lactofermentation from the Kefir whey, which will give us a more consistent and predictable product.
Since I’m home with sick children today and can’t get anything else done – I decided to destroy the kitchen experiment…
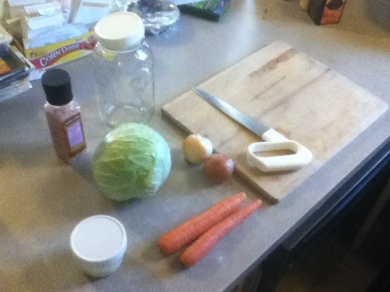
In order to make this version of sauerkraut, you’ll need:
- 1 head cabbage
- 2-3 carrots
- 2 small onions
- 2 Tablespoons of Himalayan Sea Salt
- 1/2 cup of Kefir whey
- 1/2 gallon Wide-Mouthed Mason Jar
- a large glass mixing bowl
- Basic Kitchen Utensils – knives, wooden spoon, potato masher/meat tenderizer…
Once again, for the TL;DR folks… it should look a little something like this
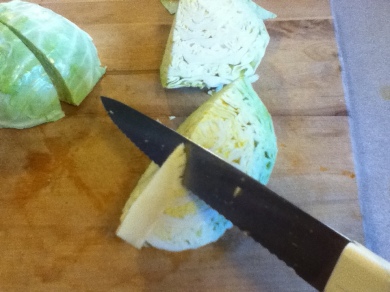
To get the process started – you’ve got to core and wash the cabbage really well before you start thinly slicing it for the sauerkraut. My preferred method for coring the cabbage is to slice it into quarters, then to angle cut the core out of each quarter like so.
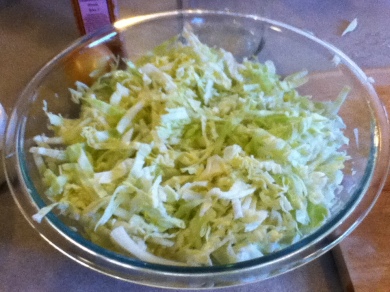
Once you’ve got the core out of the cabbage quarters, you can wash each one really well, and with the outside of the cabbage facing down, thinly slice the cabbage into ‘kraut’-like sizes. You may wish to cut the long strands in half once to make them more manageable.
Once that’s done – you’ll want to put the cabbage into a glass bowl so you can add the rest of your ingredients prior to putting them into the fermentation crock.
Now you can concentrate on your other ingredients. The carrots and the onions, or whatever else you want to add to your sauerkraut. That’s one of the cool things with homemade sauerkraut and kimchi, you can really add whatever you would like. It’s all up to you.
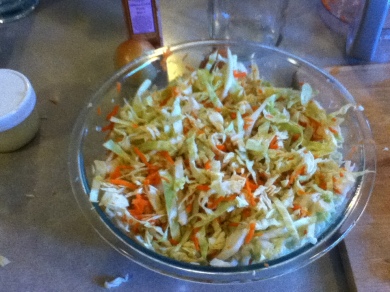
I peeled the carrots and then used my food processor with the shred/grate disk to make them small enough to complement the sauerkraut, but as I was doing that, I had a thought (my wife informs me these are dangerous) – the vegetable peeler would work well giving you some long thin peels that would look pretty good in there. I suppose it’s a matter of preference – I went with grated this time around.
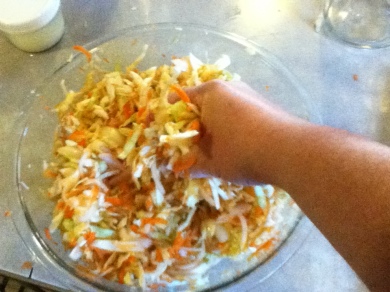
Once the carrots are done, using your hands – mix everything up. Yup… that’s right. Dig in!!
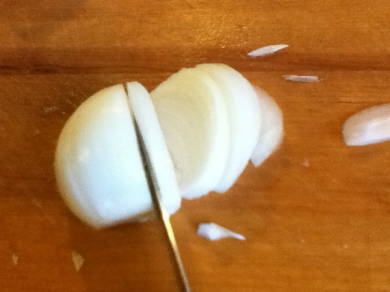
Next came the onions, and they were probably the easiest to do – just make sure you slice them on the thinner side so as to not have some super thick pieces once they ferment. I halfed mine once they were peeled, and started at one side with the cut side down slicing them along the rounded side.
Mix the onion into the rest of the vegetables really well, and make sure that it’s evenly distributed.
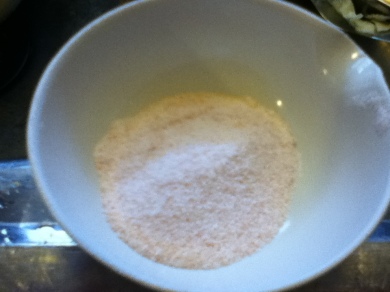
Next we have to sprinkle the 2 tablespoons of Sea Salt all over the cabbage, carrot and onion mixture, and mix it in really well. You’ll want to sprinkle the salt two or three times, mixing the vegetables and salt together really well in between those sprinklings.
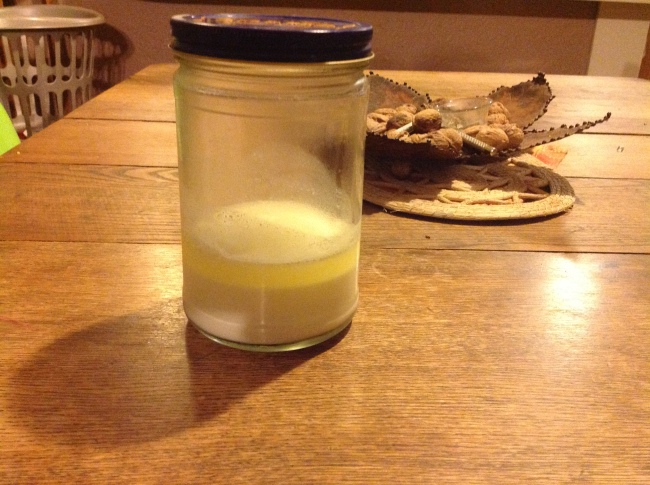
Sprinkle the 1/2 cup of whey over the top of the vegetable mixture and continue to mix. If you don’t have Kefir whey, you can get whey from quality dairy products with limited pasteurization, we used to get whey from Nancy’s yogurt – you can put it in a cheese cloth, and hang the cheese cloth over a bowl in the fridge letting the whey drip off – and then not only do you have whey – you have yogurt cheese and can use it around the house.
But 1/2 cup of whey should do us in this experiment.
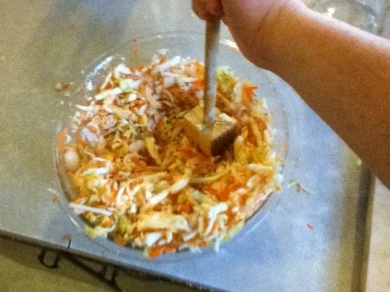
Once that’s been added – grab your meat tenderizer, potato masher or the like, and it’s time to take out your aggression on the sauerkraut. You’re working on bruising the cabbage and vegetables, in order to allow them to mix with the salt, release some of their water, as well as start the wilting process.
So go crazy. Let that sauerkraut have it. SHOW IT WHAT’S UP! IT CAN’T TALK TO YOU LIKE THAT!! DOESN’T IT KNOW…. sorry about that… got carried away…
Once you regain your composure… you can smash and stir the vegetable mixture about every 6-8 minutes for 45 minutes to an hour.
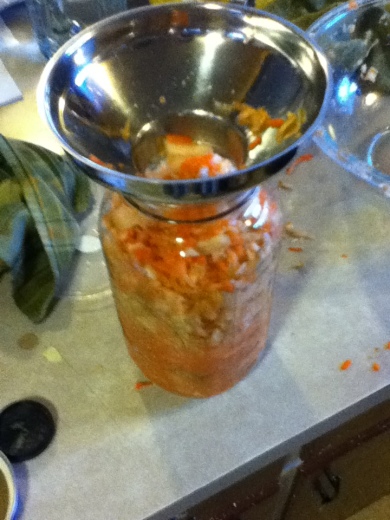
Once the 45 minutes is up – it’s time to put the sauerkraut into the fermentation container you’re going to use. We have a large ceramic crock we use for pickles, but that’s overkill for this particular project. A 1/2 gallon mason jar is the perfect size. Using a canning funnel, spoon the mixture into the jar, packing it down as you go.
Pack it down really good – so much so that the fluid brine made by the smashing and stirring + the salt we added earlier can rise above the vegetables. If there’s isn’t quite enough brine to cover the vegetables, you can top off with a little water (chlorine-free) so if it’s tap – leave it sitting out for at least 24 hours for the chlorine to evaporate off. The chlorine can kill the beneficial bacteria in the fermentation vessel.
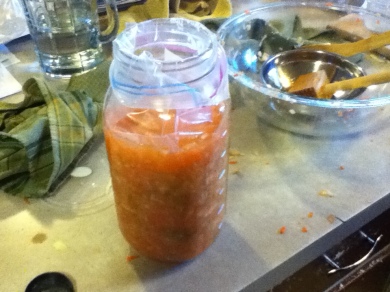
Once you’ve packed it down, we have to seal it. A friend suggested using a ziplock bag – pressed down into the jar and looped over the edge of the jar, and then fill the bag up with water. The water holds the cabbage down in the fluid, as well as expands the bag to seal the edges.
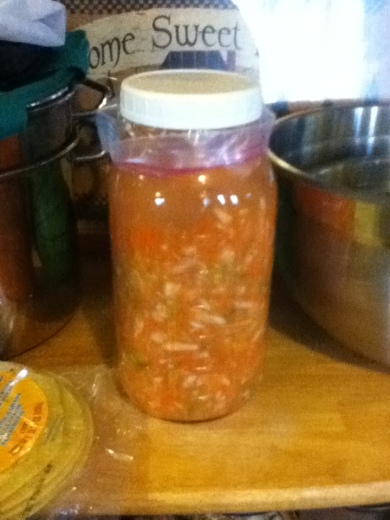
Once it’s full of water, it’s ready to sit for a few days – a little warmer than room temperature is a good idea, but you don’t want to exceed the low 70’s, or go lower than upper 60’s. There’s a definite sweet spot – right around 70 degrees. Put the lid on the jar – set it aside for about 3 days. You should begin to see bubbles and activity in the jar at that point, and the primary fermentation is complete at that point. You could eat it right away – but it gets better with age. If you put it in the fridge for about 2 weeks, once the primary fermentation is done – it should be money.
We’ll update you on this batch later next week. Here at the Little House on 17th Street, we’re going on Sabbath Silence. Have a great evening, and we’ll catch you all on Sunday.
Happy Fermenting!

